
When we bought the cottage seven years ago, this little armoire functioned as our bedroom "closet". It worked for us more or less, because we only visited on weekends during summer months and we tended to leave behind only bathing suits, shorts, t-shirts, and towels. But now that I'm freelancing again, I've been spending more time in summer here, and this little armoire wasn't cutting it anymore.
 |
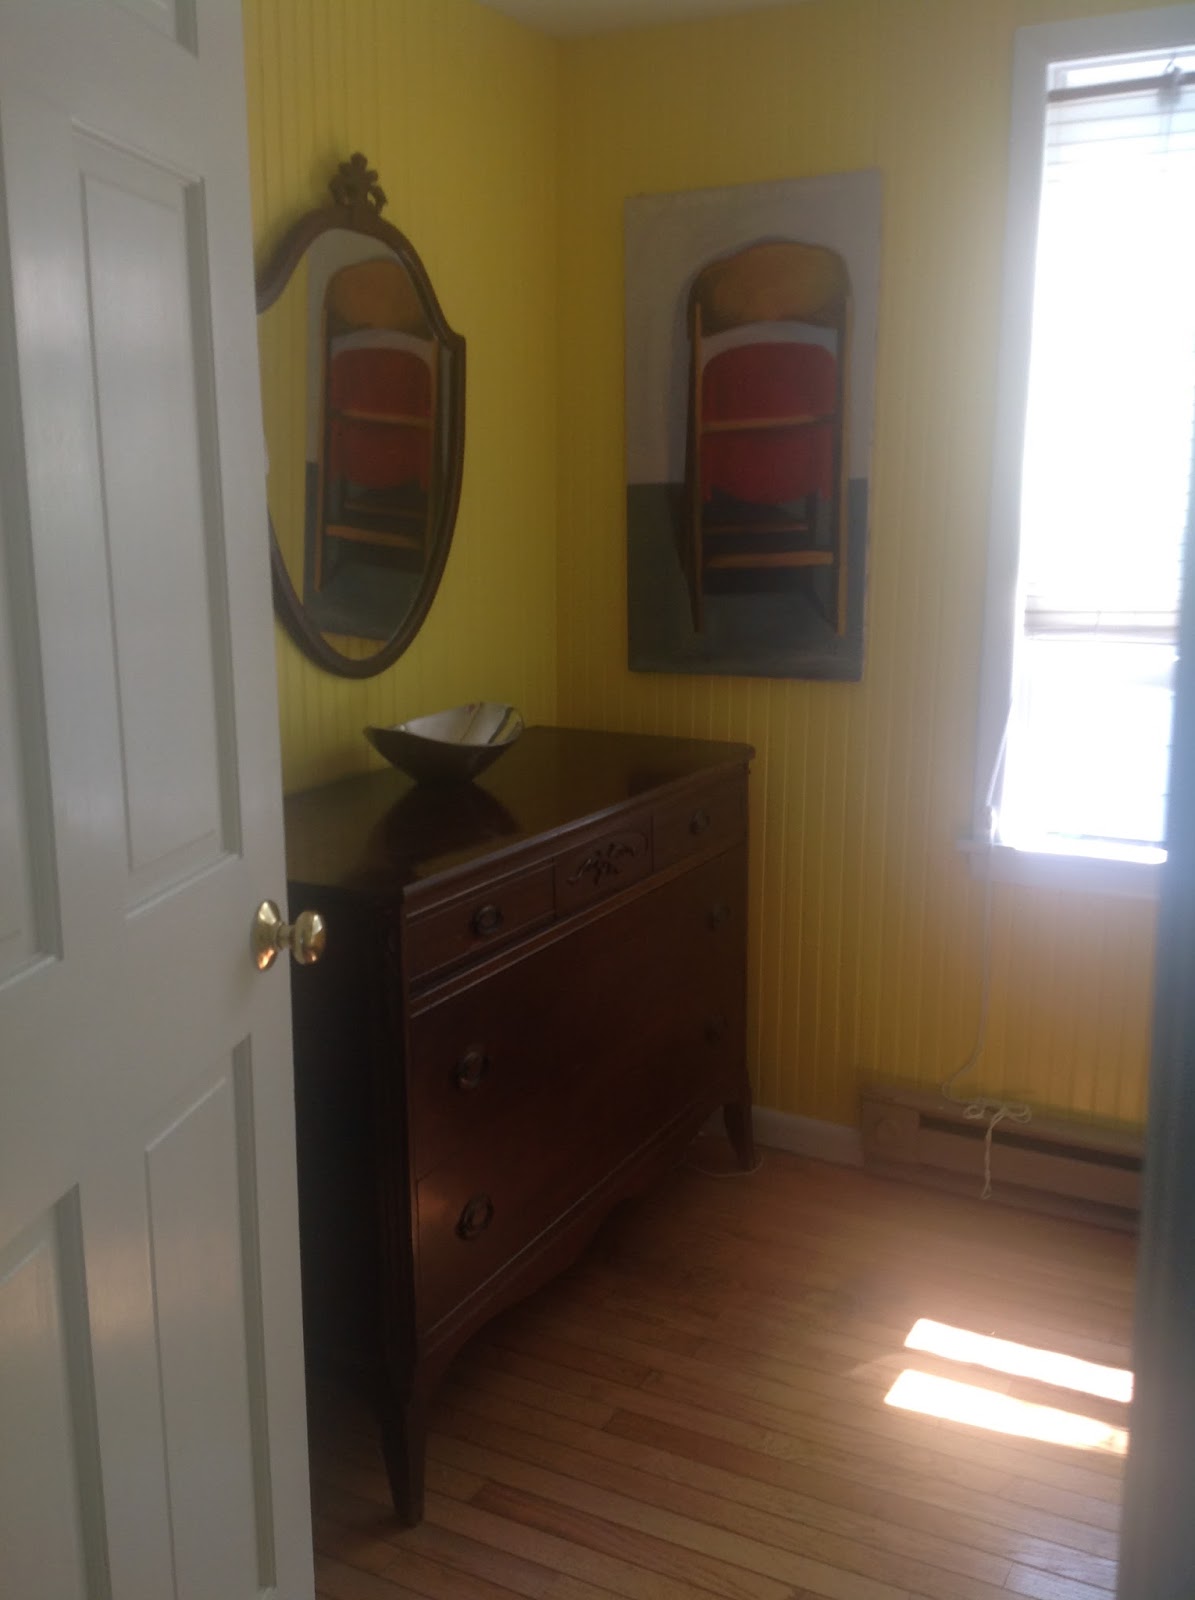
| Configuration of the room |
The two pieces sitting side by side looked terrible. Not only were they different finishes, but it was a lot of furniture for such a small space. And the configuration of storage wasn't working for us either. We needed more room for hanging things and a few shelves for storing bags.

The clutter of suitcases, tote bags and laptops piled on top of the dresser (and sometimes spilling onto the floor) made the mirror and dresser surface unusable. There had to be a better way... and there was.
The armoire was partly obscured behind the bedroom door, and that got me thinking. Could I install a modular closet system behind the door? Ordinarily I'd think a modern closet system would look out of place in a 1920s cottage, but hidden behind the door, it would only be visible to me and Ross when the door was closed. The real question was, could all our things fit neatly in the roughly 36 inches hidden behind the door? I took inventory and measured all the items that were currently in the armoire plus our weekend bags and sketched a little schematic:

It looked like it would work, so I started researching closet systems.
Lowes carries RubberMaid, Home Depot sells Closet Maid, and the Container Store has the Elfa System. I had used Elfa before to customize a walk-in closet in my Brooklyn apartment and I liked it a lot. I found it easy to design and install, and even better, mine had withstood the test of time. I lived in that home 6 years and was able to add on items as my storage needs changed. And the quality and the look were top notch. Even though it was a bit more expensive than the other two, I decided to go with Elfa, as I had already personally tested it. (This is not a paid endorsement.)
Monday after work, I brought my measurements and my schematic to a Container Store near the office. The closet designer fired up his computer and drew up a plan using their design software. Per my schematic, I had a top shelf, a hanging rail, a hanging shoe caddy to the left, and another shelf at the bottom.
It was a happy surprise to learn that I did have room for a sliding mesh drawer under the hanging items to the right. I wasn't sure that I would.
The designer printed out the itemized list of parts and we went over it all again together, then he placed my order.
Note: None of my items as it turned out had to be cut to fit, as I had 36 inches of wall space available and 36 inches is one of the standard widths for horizontal rails. I actually didn't need to come into a store to order. I could have designed it and ordered the components online myself. But because I wasn't 100% sure I'd be able to fit everything in a 36 inch width, plus I had some questions about the mesh drawers and I wanted to see them in person, I went into the store to order. If you order online there is currently free delivery. If you order in-store it's a $70 delivery fee. It took about 10 days for all the parts to arrive, then I got to work.
The Elfa system all hangs from a rail you affix to the wall. First you figure out what kind of wall you have and what support is behind it so that you use the correct type of anchors. I happened to be drilling into wood beadboard panels so high up that behind it I could detect with my stud finder (and confirm by drilling pilot holes) that I was hitting the actual 2x4s of the wall framing up at ceiling height. I didn't need anchors. I just screwed the top rail right in using my drill with screwdriver attachment. This is very unusual. Most installations will require anchors, or the whole thing could come tumbling down one day.
Assembling it was a piece of cake.

First you install a horizontal top rail.

The vertical rails hang from that. And the brackets that hold shelves and drawer inserts go into the slots on the vertical rails.


It holds everything we need it to, and it's completely hidden by the door when it's open.


The update to the room inspired me to reconfigure the bed. I realized that by placing the headboard up against the window overlooking the porch — which we keep shuttered for privacy — we had enough room for two side tables.

I found two perfect milk glass lamps at a vintage store. They are the sweetest things, with a nightlight in the base and a reading light above. The delicate design is in pastel shades of pink, blue and yellow that goes perfectly with my grandmother's cross-stitched quilt.

Having lived with the room now for some time, we're really happy with the change. We didn't realize how annoying it was make the bed when one side was pushed up against a wall. You had to practically lay across the bed tucking things in. Now making the bed is quick and easy. The room is still cozy, but there's a place for everything now and everything's in its place.
It's amazing how one good improvement almost always leads to another.

No comments:
Post a Comment