Has this ever happened to you? You start out with a simple project — to update a faucet fixture — and invariably end up replacing the trap and a whole slew of other pipes beneath the sink. What should be a 45-minute project snowballs into a whole day thing, with multiple trips to the hardware store for parts. Here's where conventional "advice" you get from sales assistants in the plumbing aisle is just *plumb* wrong and what I'll do differently next time I touch a kitchen sink.
I had a nice long stay with my parents recently, and of course we had a few projects lined up. When M+D visit me, they pitch in with projects like installing barn lighting on the summer cottage or using my new miter saw to DIY an easy float frame some canvas artwork. Likewise, when I visit them, I help out with whatever's on their list. (Renovating is in the genes obviously.) This visit, project numero uno for Mom was to replace the old kitchen faucet with a gooseneck for better clearance when washing pots and pans.
This was pretty much the only project Mom and Dad had left on the list for the kitchen, after their recent remodel. We had a morning to spare one day, so we thought why not. But I was forgetting my last encounter replacing a kitchen sink strainer and basket — a project that much like this, snowballed into an all-day job. And that's what happened this time.
The actual fixture install was straightforward. But while we were under the sink making adjustments to parts, we found the old metal P-trap was crumbling and there was a leak. Off we went to the store for updated PVC parts. We sized them and installed them, but the leak persisted.
Turns out that just as in my previous sink project, we were handed reducers instead of washers. Back to the store we went. Got home and made the switch... yet still the leak was there.
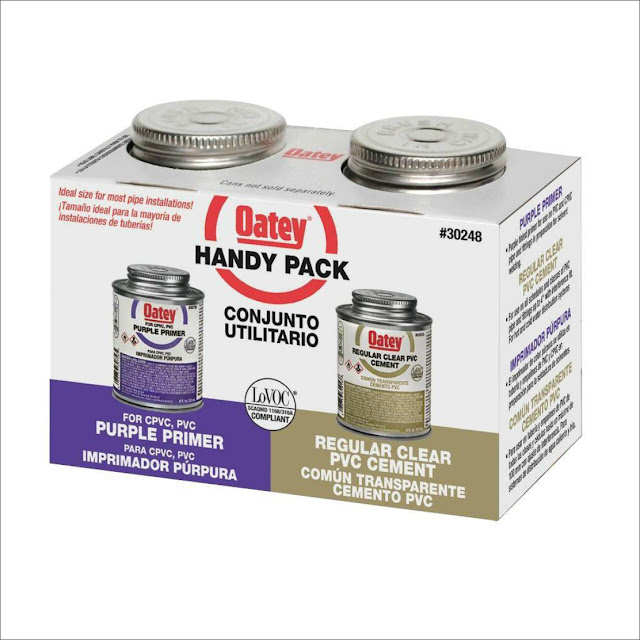
"You know," I said to Dad, "the same thing happened to me before, when I replaced my faucet and strainer. What finally worked was that purple primer and cement, even though the plumbing guys said I didn't need it." The hardware assistants will always tell you that you don't need primer and cement for a simple kitchen sink job using PVC pipe. They say that if you cut the pipes to the correct size and everything fits properly, it shouldn't leak. I had chalked up last time's issues to my own inexperience as a plumbing newbie, but this project was making me revise that assessment.
"They take these classes," Dad explained, "where they're working with model kitchens, not real-life plumbing situations. I can actually see here on the other side where the install of the wall pipe to the garbage disposal has a blue primer on it," he pointed out.
So back to the hardware store we went again. We picked up the purple primer dual pack and reinstalled the PVC pipe, this time coating the connecting pipes with primer and cement. The combination of these two solvents actually melts the PVC plastic, to form a permanent bond. The hardware store guys will tell you you don't want a permanent bond, in case you ever have to revisit your plumbing configuration. But the way I see it, PVC parts are cheap. I'd rather have a solid connection without leaks under my sink than easily reconfigurable pipes. And so would most homeowners, don't you agree?
Next time I have a kitchen plumbing job even if it's just an easy fixture swap, I'm going to do three things:
1. Pick up a PVC kit and some extra parts in case we need them. Kits come with all the gaskets, reducers and valves you'll need and they're very inexpensive.
2. Make sure I have gaskets and not reducers!
3. Include a pack of the purple primer and cement — even though the sales assistants will invariably say I don't need them.
You can always return whatever you don't use but by having everything on hand you'll avoid making multiple trips, and that's the real time suck in these jobs.


No comments:
Post a Comment